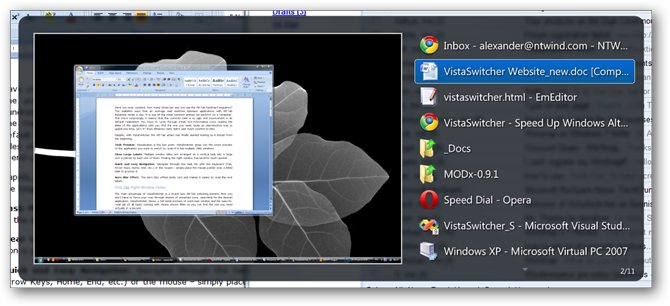
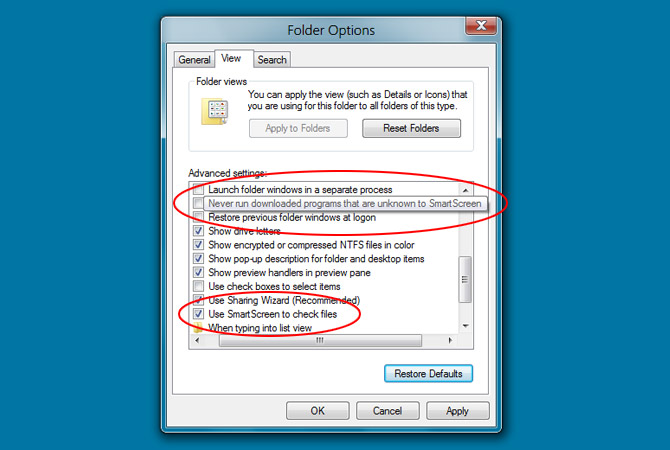
This new mechanism can be enabled/disabled using Folder Options window.
What do you think about this new add-on?
Go to Blogger edit html and find these sentences.Now replace these sentences with your own descriptions.This theme is Bloggerized by Lasantha Bandara - Premiumbloggertemplates.com.
Go to Blogger edit html and find these sentences.Now replace these sentences with your own descriptions.This theme is Bloggerized by Lasantha Bandara - Premiumbloggertemplates.com.
Go to Blogger edit html and find these sentences.Now replace these sentences with your own descriptions.This theme is Bloggerized by Lasantha Bandara - Premiumbloggertemplates.com.
Go to Blogger edit html and find these sentences.Now replace these sentences with your own descriptions.This theme is Bloggerized by Lasantha Bandara - Premiumbloggertemplates.com.
Go to Blogger edit html and find these sentences.Now replace these sentences with your own descriptions.This theme is Bloggerized by Lasantha Bandara - Premiumbloggertemplates.com.


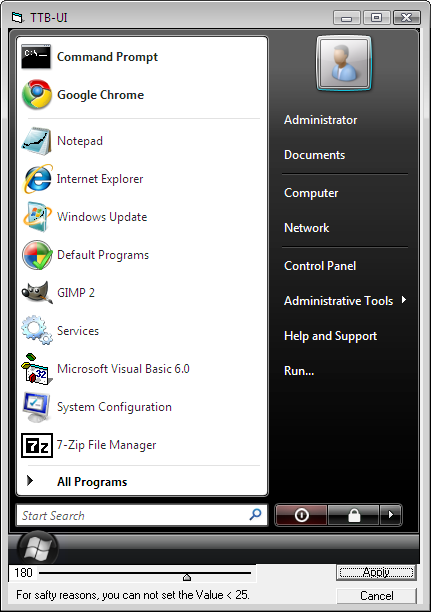
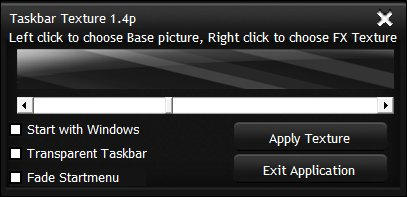
Download LinkExtract the downloaded ZIP file and you'll get 2 files in it: TTB.exe and TTB-UI.exe
TTB transparency_valueFor example, if you want to set transparency to 10, use following command:
TTB 10Its a good utility for eye candy lovers.

Download LinkIt'll replace the existing "authui.dll" file with a patched one and you'll no longer see the ORB animation just like Windows 7.

The Taskbar Peek function is similar to the true Windows 7 Aero Peek function, making it possible to Peek at a window, just by hovering over its Taskbar Button: when clicking the Middle Mouse Button on one of the program buttons, all other windows are Peeked, leaving only the desired one to look at. You can use this to quickly find a window in real size, making it easier to see the differences between two windows. Or maybe you just want to take a Peek at one without actually switching to it.You can download it using following link:
By hovering over a Grouped Taskbar Button, its menu automatically opens, so you can Peek at these windows too. Even minimized windows can be Peeked at!... As long as they’ve been open long enough for WinShake Control to take a SnapShot of them, that SnapShot is being shown in real size on the position where the window was when the picture was taken. And when you click on a SnapShot, the actual window is restored.
This Taskbar Peek function however is not completely free to use anymore... I hope you will find it worth a little bit!... :) But first you can try it of course, so...
Enjoy the program!
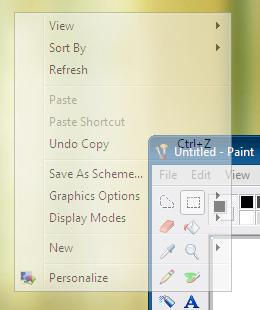
"PathCopyEx" is a very small utility created by "Mike Lin". It adds an extra option "Copy Path to Clipboard" to file/folder context menu.PathCopyEx

"Neotech Path Copy" is another excellent utility which adds a new option "Copy Path" to file/folder context menu which allows you to copy full/short name, path, etc of the selected file/folder.Neotech Path Copy



Download "Winter Fun Packs 2003"Simply install the pack in Windows XP or Vista and launch "Winter Fun Packs 2003" from startmenu. Select "Digital Photography" from the list and there you can launch "Winter Fun Wallpaper Changer".
Download "Winter Fun Wallpaper Changer" Powertoy (Requires Genuine Windows Validation check) Thanks "Harry".It sits in system tray and allows you to change various settings using context menu.
Direct Download Link Thanks "Geo".
| |

HKEY_CURRENT_USER\Software\Microsoft\Windows\CurrentVersion\Policies\ExplorerIf the above key doesn't exist, create it.
FF - To disable AutoRun on all drives
20 - To disable AutoRun on CD-ROM drives
4 - To disable AutoRun on removable drives
8 - To disable AutoRun on fixed drives
10 - To disable AutoRun on network drives
40 - To disable AutoRun on RAM disks
1 - To disable AutoRun on unknown drives


HKEY_CLASSES_ROOT\DesktopBackground\Shell3. Now we'll need to create a new key under "Shell" key. Right-click on "Shell" key and select "New -> Key". Give the new key any desired name e.g. "GodMode" (without quotes).
explorer shell:::{ED7BA470-8E54-465E-825C-99712043E01C}7. To set an icon for the shortcut, select the key created in Step 3 and in right-side pane, create a new String value "Icon". Set its value to your desired icon. We have set it to control.exe in our example to show Control panel icon for it.
Top (To show it at top)
Bottom (To show it at bottom)


HKEY_CLASSES_ROOT\CLSID\{20D04FE0-3AEA-1069-A2D8-08002B30309D}3. Now we'll need to create a new key under "Shell" key. Right-click on "Shell" key and select "New -> Key". Give the new key any desired name e.g. "GodMode" (without quotes).
explorer shell:::{ED7BA470-8E54-465E-825C-99712043E01C}7. To set an icon for the shortcut, select the key created in Step 3 and in right-side pane, create a new String value "Icon". Set its value to your desired icon. We have set it to control.exe in our example to show Control panel icon for it.


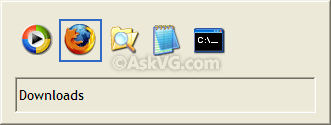
HKEY_CURRENT_USER\Software\Microsoft\Windows\CurrentVersion\Explorer3. In right-side pane, create a new DWORD value AltTabSettings and set its value to 1

BONUS TIP: If you don't want to set the Classic "Alt+Tab" Switcher screen permanent but want to enjoy it temporarily, then you can follow these simple steps:
Its a bug in Windows Vista and 7. Actually this bug can also be reproduced in Windows Vista Beta versions...
- Press and hold Left or Right Alt key.
- Now press and release the other Alt key on your keyboard but keep pressing the first Alt key.
- Now press Tab key and you'll get the Windows XP styled Classic "Alt+Tab" Switcher screen.
HKEY_LOCAL_MACHINE\SOFTWARE\Microsoft\Windows\CurrentVersion\Policies\System3. In right-side pane, create a new DWORD value DelayedDesktopSwitchTimeout and set its value to 5


Run Microsoft Automated Troubleshooting ServicesIt only supports Windows XP and Vista as Windows 7 and Server 2008 already come with built-in Automated Troubleshooting Services which can be accessed using Control Panel -> System and Security -> Action Center -> Troubleshoot common computer problems.


Download following ZIP file, extract it and run extracted .REG file. It'll add "Hide File" option in all files context menu:To add "Hide File" option in file context menu:
Download following ZIP file, extract it and run extracted .REG file. It'll add "Unhide File" option in all files context menu:To add "Unhide File" option in file context menu:
Download following ZIP file, extract it and run extracted .REG file. It'll add "Hide Folder" option in all folders context menu:To add "Hide Folder" option in folder context menu:
Download following ZIP file, extract it and run extracted .REG file. It'll add "Unhide Folder" option in all folders context menu:To add "Unhide Folder" option in folder context menu:

Is there a way to hide the 'organize' bar in windows 7 explorer? I can hide everything else, but unlike Vista there isn't an option to hide that bar.Its not the first time we received this query. Lots of people want to hide the Command Bar aka Folder Band in Windows Vista and 7 Explorer so that they can get more free space in the Explorer window.
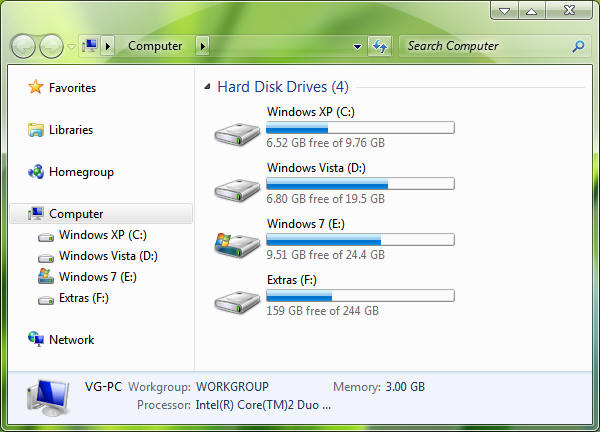
%windir%\Resources\Themes\Aero\Shell\NormalColorNOTE: If you are using Windows Classic theme, you'll need to edit "Shellstyle.dll" file present in "Windows\System32" folder.
<style resid="FolderBandStyle">4. It'll go to following line of code:
<style resid="FolderBandStyle">5. Now add following code after <style resid="FolderBandStyle"> line:
<Element
background="argb(0, 0, 0, 0)"
/>
<if mousefocused="false" mousewithin="false"><Element padding="rect(0rp,0rp,0rp,-28rp)"/></if>So that it'll look as following:
<style resid="FolderBandStyle">
<if mousefocused="false" mousewithin="false"><Element padding="rect(0rp,0rp,0rp,-28rp)"/></if>
<Element
background="argb(0, 0, 0, 0)"
/>

<Element padding="rect(0rp,0rp,0rp,-28rp)"/>6. Now click on "Compile Script" button and save the file.

