AquaSnap greatly enhances the way you can arrange windows on your Desktop. It gives you the possibility to snap windows to the edges or to the corners of the desktop simply by dragging and dropping them where you want. AquaSnap is a great replacement for the Aero Snap and Aero Shake features of Windows 7 and is compatible with every Windows version including XP and Vista.
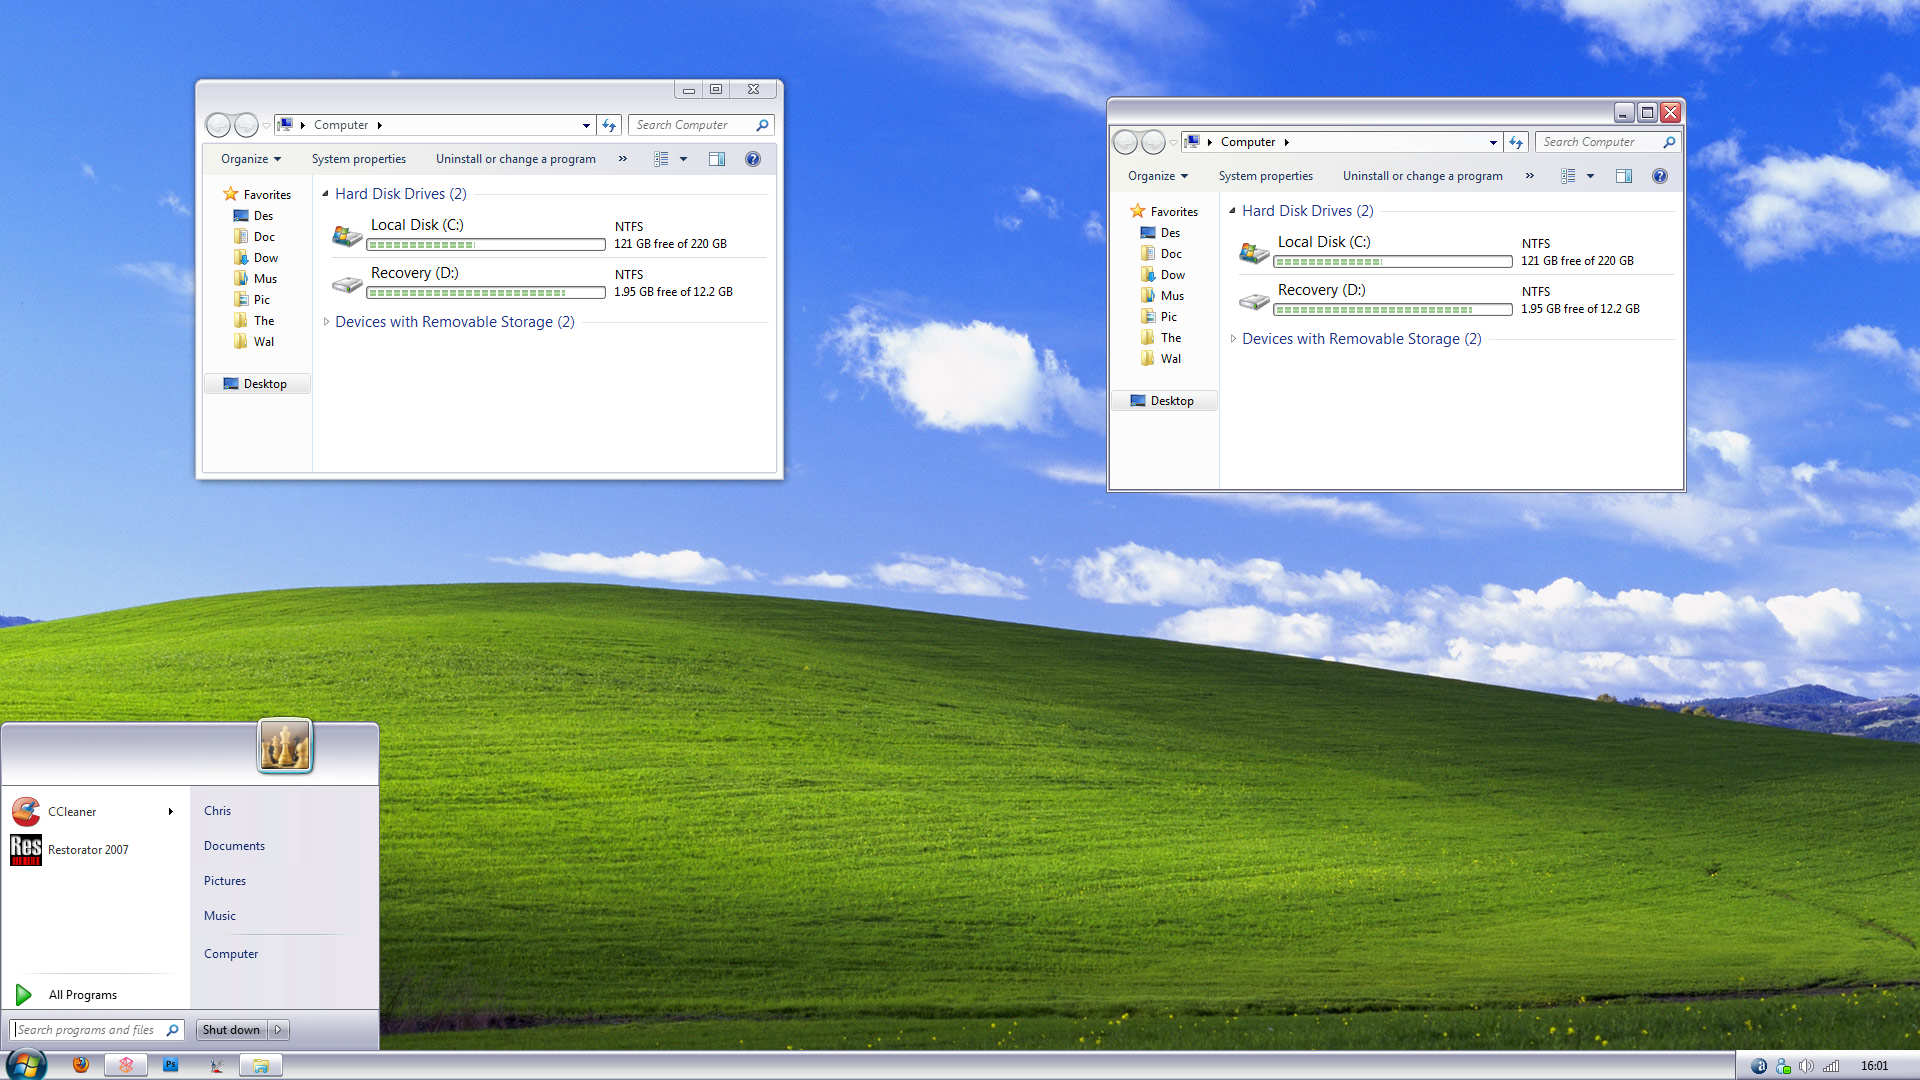
AquaSnap makes the window management much more ergonomic. Drag a window to the border of your desktop, and this window will be snapped and resized to fit one half of the screen. Drag this window to a corner, it will be snapped to fit one quarter. Shake a window, and this window will stay always on top.

Features List:
Homepage
Thanks to our reader "Shahnawaz" for sharing this tool...
AquaSnap makes the window management much more ergonomic. Drag a window to the border of your desktop, and this window will be snapped and resized to fit one half of the screen. Drag this window to a corner, it will be snapped to fit one quarter. Shake a window, and this window will stay always on top.
Features List:
- Can resize windows to half screen and quarter screen.
- Multiple monitors support.
- Works with child windows of Multiple Document Interface (MDI).
- Skinnable interface.
- Multilingual GUI (English and French).
Homepage
Thanks to our reader "Shahnawaz" for sharing this tool...